How to Add Images with a Caption
Start out with the image file on your computer
Rename the image file – NO SPACES, no special characters, only alphanumerics and hyphens or underscores. Good idea to have words separated by hyphens (or underscores).
Resize the image – there is no reason to upload large images because this just bloats the site’s file system, so please resize to the size you need to display the image
Add the image to the Media Library
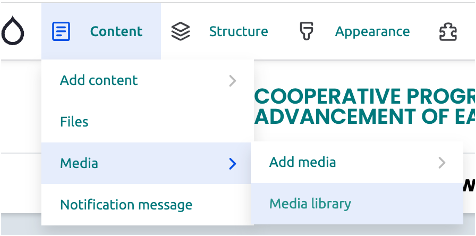
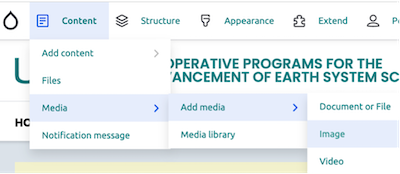
Go to Content → Media → Add media → Image
In the “Name” field, enter text that makes sense so that it can be found easily if needed – this is NOT the file name, but a short phrase to describe the image and to help you find it later.
Upload the image
Enter the caption text
Edit the page that you want to insert the image plus caption into
In the Body field, click where you want to insert the image plus caption and hit return – this creates a new paragraph
Click on the “Insert from Media Library” icon in the toolbar – the one with light blue background below:

Find the image and check the blank checkbox
Click on “Insert selected”

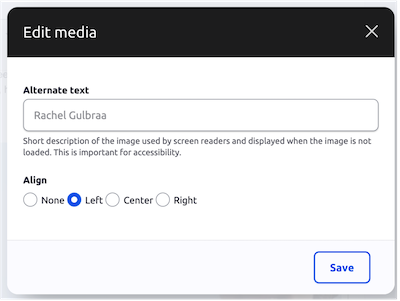
After you have added an image, you will see this above the top left corner of the image:

You can click on “Edit media” to “Align” the image to: None or Left or Center or Right. If you select Left or Right his works to float the image so that the text below the image ( plus caption) wraps around the image (plus caption) and the image’s width is changed to 480px wide. Selecting “None” makes the image the full size that you uploaded, centered, and no text wrapping around it. Selecting “Center” makes the image 480px wide, centered, and no text wrapping around it.
To edit the caption after you added the image to the page, you will need to:
Go to Content → Media → Media Library
Find the image
Select the “Pencil” icon
Edit the Caption
Save